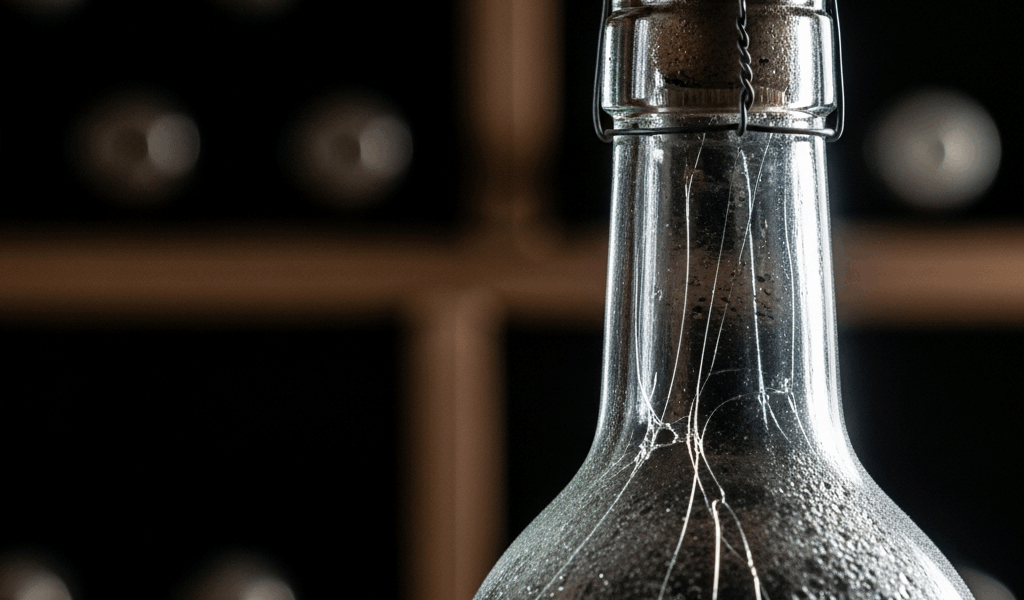
Why Homemade Wine Bottles Actually Explode
I learned about exploding wine bottles the hard way—standing in my kitchen at 2 AM listening to glass shatter inside my fermentation cabinet. The bottle had been sitting there for what I thought was three months of stable storage. Turns out, I’d made a critical assumption that cost me a mess of sticky wine and serious questions about what could have happened if I’d been standing closer.
So, without further ado, let’s talk about what actually happens inside that sealed container. Homemade wine explodes because of pressure buildup. That pressure comes from carbon dioxide—the same gas that makes beer fizzy and bread rise. When yeast is still alive in your wine, it’s eating sugar and producing CO2 as a metabolic byproduct. You cap or cork a bottle before fermentation is truly complete, and that gas has nowhere to go. Pressure accumulates. Standard 750ml wine bottles with regular corks can handle maybe 1-2 PSI before they start to fail. Champagne bottles? They’re engineered for 5-6 PSI. Regular wine bottles are not.
The dangerous part isn’t visible.
You can’t look at a bottle and know it has residual sugar — unconverted sugar that dormant yeast can still ferment later. If your wine has more than 1-2% residual sugar by weight and it’s sealed and sitting somewhere warm, fermentation can restart. Dormant yeast wakes up. Temperature matters enormously. I’ve seen wines stable at 50°F suddenly restart activity when moved to a 70°F room. Your specific gravity reading is what actually matters here. If you finished fermentation at a specific gravity of 1.010 or higher, you have risk.
Most home winemakers never mention this because it feels like admitting failure. But it’s not failure—it’s physics.
Red Flags Before Bottles Pop
There are always warnings. You have time to catch this if you know what to look for.
Bulging caps or corks are the most obvious sign. If the cap is pushing outward or the cork is being slowly ejected, fermentation is actively happening inside. Don’t ignore this. Some people think it’ll settle down on its own. It won’t. The pressure will only increase.
When you open a bottle and hear a strong hiss — that’s not the pleasant pop of carbonation. That’s gas under pressure escaping. Your wine should open quietly. If it hisses, fermentation restarted.
Sweet smell emanating from the airlock weeks after you thought fermentation finished is a clear signal. You might notice it smells like active yeast, even slightly sour or vinegary. That’s CO2 movement. The airlock is bubbling again. This happened to me with a batch of apple wine I’d left too long with residual sugar. By the time I noticed the smell, two bottles had already started bulging.
Visible bubbles in a bottle that’s been sitting undisturbed for a month. Not just sediment—actual bubbles rising. That’s active fermentation.
Checking bottles during storage isn’t paranoid. It’s maintenance. Every week for the first month after bottling, give each bottle a visual inspection. You’ll catch 90% of problems before they become dangerous.
How to Prevent Bottle Explosions Step by Step
Probably should have opened with this section, honestly. Here’s what actually stops explosions.
Test your final gravity three times over two weeks. Don’t bottle based on one reading. Get a hydrometer — a basic one costs $8-12 and is worth infinitely more than a bottle explosion. Measure the specific gravity on day one. Measure again four days later. Measure again on day ten. If all three readings are identical to within 0.002, fermentation is complete. If it’s still dropping, wait. I use a simple test tube method with my hydrometer; takes ninety seconds per batch.
Your target is a final gravity between 0.990 and 1.005 depending on what you’re making. Dry wine should be below 0.995. Anything above 1.010 with sealed caps is a pressure risk.
Use airlocks until you’re absolutely certain fermentation is done. An airlock lets CO2 escape while preventing oxygen from entering. This is your safety valve. Don’t cap bottles until the airlock has stopped bubbling completely for at least a week. I use standard S-shaped airlocks or 3-piece airlocks depending on the carboy. Keep them filled with sterile water or vodka.
Control temperature during storage. Store finished wine between 45-65°F if possible. Cooler storage dramatically reduces the chance of dormant yeast reawakening. If you can’t maintain that range—say you’re in a warm climate—this becomes even more critical to your gravity testing routine. Temperature fluctuations trigger fermentation restarts more reliably than anything else.
Choose the right bottle type. If you’re making still wine, use standard wine bottles. If you’re intentionally making carbonated wine or cider, use champagne bottles with champagne corks and proper caging. The difference in engineering is real. I’ve never had a champagne bottle explode because they’re built for pressure. Regular bottles aren’t.
Cap or cork properly. This sounds obvious but execution matters. A loose cap lets pressure escape slowly — risky, wasteful, but less explosive than a perfectly sealed cap with high pressure behind it. A properly seated cap should require firm pressure to place. Use a capping tool if you’re using crown caps. For corks, use a floor corker or hand corker and drive the cork fully into the bottle until the shoulder of the bottle meets the cork. A partially inserted cork is worse than no cork — it’ll pop out suddenly under pressure.
Bottle in batches based on gravity reading, not calendar. Don’t wait for all your carboys to finish on the same day. Bottle each batch only when its gravity is stable. This prevents bottling wine that’s still actively fermenting.
One more thing: I learned to open bottles from the side, not pointing at myself or anyone else. If a bottle is going to pop, pointing the cap away from your face matters.
What to Do If a Bottle Explodes
It happened. Now handle it safely and salvage what you can.
First, don’t try to grab broken glass. Wait five minutes. Let any remaining pressure dissipate and any aerosol settle. Check if the bottle is still making noise — hissing or creaking. If it is, leave it alone for longer.
Wear nitrile gloves and safety glasses if you have them. Exploded bottles send glass fragments everywhere, and wine splash can sting in your eyes. I use a small dustpan and brush rather than my hands. Get the large pieces first, then sweep repeatedly. Wine is sticky and glass fragments hide in that film.
Check the bottles stored immediately next to it—especially ones that are stacked or touching. Look for any fresh cracks, bulges, or hissing. If a bottle exploded due to pressure buildup, its neighbors might be at risk too.
Regarding the wine that survived: if it spilled everywhere, it’s gone. If the bottle itself didn’t break and you can recover the wine, strain it through a fine mesh into a clean carboy. It’s still safe to drink if there’s no glass in it. Some winemakers worry that an exploded bottle means the whole batch is bad. It doesn’t. One pressure failure doesn’t contaminate the rest of your wine.
Bottling Techniques to Stop Future Problems
Back-sweetening — adding sugar back after fermentation — is a common technique. It’s also where a lot of home winemakers create pressure problems. If you’re going to back-sweeten, do it before bottling, not after. Add your sugar syrup to the carboy, stir thoroughly, let it sit for three days, test the gravity again, and only then bottle. Adding sugar to an already-bottled wine with live yeast dormant inside is exactly how you create the conditions for explosion.
Sulfites are your friend here. Potassium metabisulfite stops yeast activity permanently at proper doses — 100-150 ppm for table wine works well. Use it after back-sweetening but before bottling. This prevents dormant yeast from restarting. I dissolve 1/4 teaspoon in a bit of water and add it to a full 5-gallon batch. Wait 24 hours before bottling to let the sulfur dioxide gas fully integrate.
If you’re intentionally making carbonated wine or priming for carbonation, use champagne bottles exclusively. Measure priming sugar precisely — too little and you get no carbonation, too much and you’re back to pressure problems. Most recipes call for 1/4 teaspoon of sugar per 750ml bottle for light carbonation. Use a priming calculator online; don’t guess.
Storage conditions matter after bottling. Keep your sealed bottles in a cool place — basement, garage, dark cabinet. The cooler you keep it, the less likely dormant yeast wakes up. Check them monthly for the first six months. After that, if the gravity was stable and the storage stayed cool, you’re safe.
Next batch, you’ll approach bottling day differently. You’ll test three times. You’ll wait for certainty. And you’ll never stand in your kitchen at 2 AM cleaning up wine.


Stay in the loop
Get the latest winemaker's friend updates delivered to your inbox.